
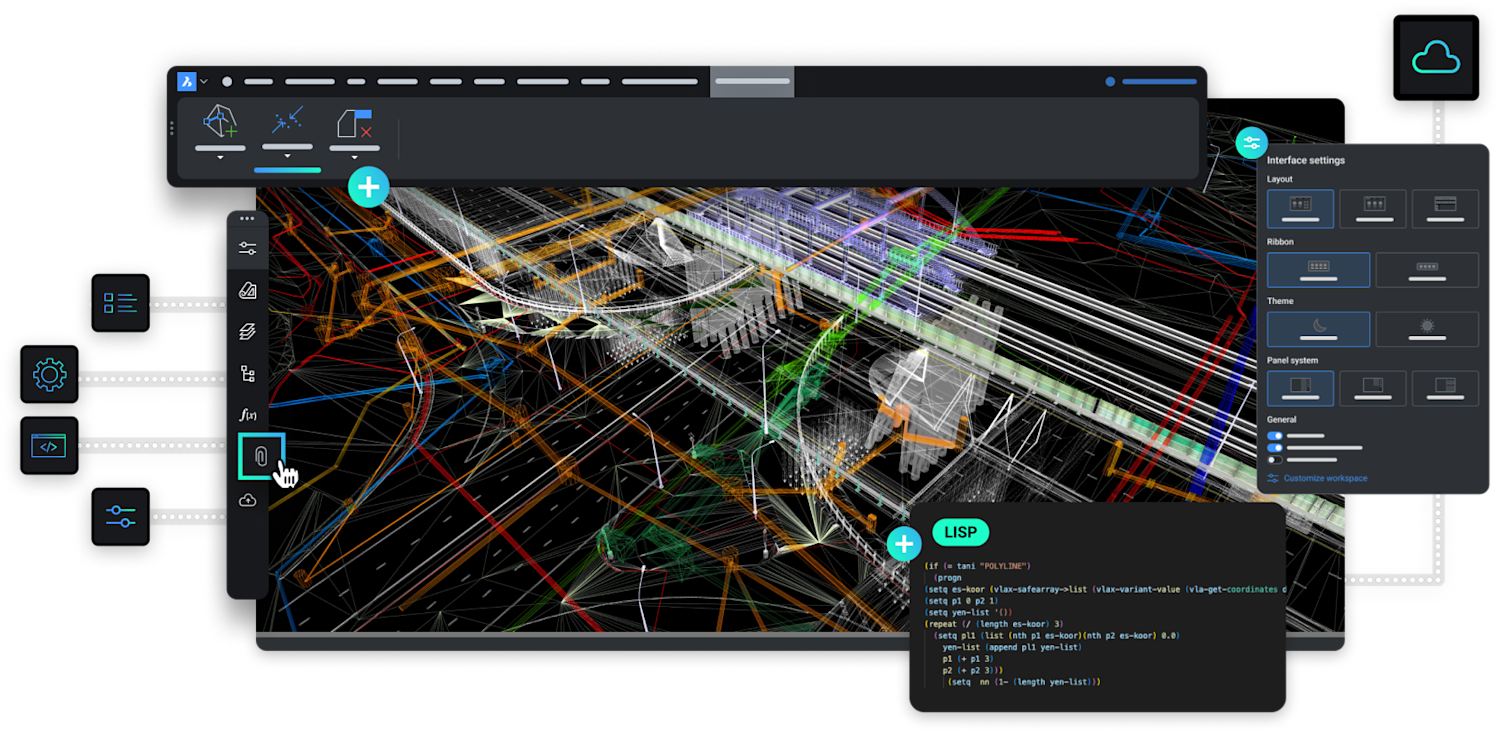
BricsCAD is designed to feel familiar to AutoCAD users, with a similar interface, command structure, and workflow.
Most teams can begin working productively with minimal retraining, allowing for a smoother transition without a steep learning curve.
Moving from AutoCAD to BricsCAD is more straightforward than many teams expect, thanks to DWG compatibility.
However, a successful migration depends on how your drawings, templates, and workflows are carried across.
This guide walks through the key steps to help you plan and manage your transition.

Many companies move from AutoCAD to BricsCAD to reduce software costs while maintaining full compatibility with existing DWG files.
BricsCAD offers a familiar interface, similar commands, and support for existing workflows, making it easier for teams to transition without starting from scratch.
It also includes flexible licensing options and built-in tools that can improve efficiency without requiring significant changes to how your team works.

Planning your migration properly is key to ensuring a smooth transition to BricsCAD.
This includes reviewing your existing setup, identifying critical files and customisations, and defining how your templates, blocks, and workflows will be carried across.
Taking the time to prepare in advance helps reduce disruption and ensures your team can continue working as expected.
If you want a detailed walkthrough, Octave provide step-by-step video tutorials covering the migration process:
While moving to BricsCAD® is straightforward in many cases, some teams encounter challenges during the transition.
These can include templates not behaving as expected, workflows needing adjustment, or differences in how certain tools operate.
User adoption can also take time, especially if teams are used to established processes and shortcuts.
Understanding these challenges early helps you plan your migration more effectively and reduce the risk of disruption.

Learn the BricsCAD interface fast with a focused course built for AutoCAD users.
Download our step-by-step guide to confidently migrate your CAD environment with ease.
Setting up your Bricsys account is a breeze and takes approximately 30 seconds. Visit the official Bricsys® website, fill in the necessary details, and you’re ready to move to the next step.
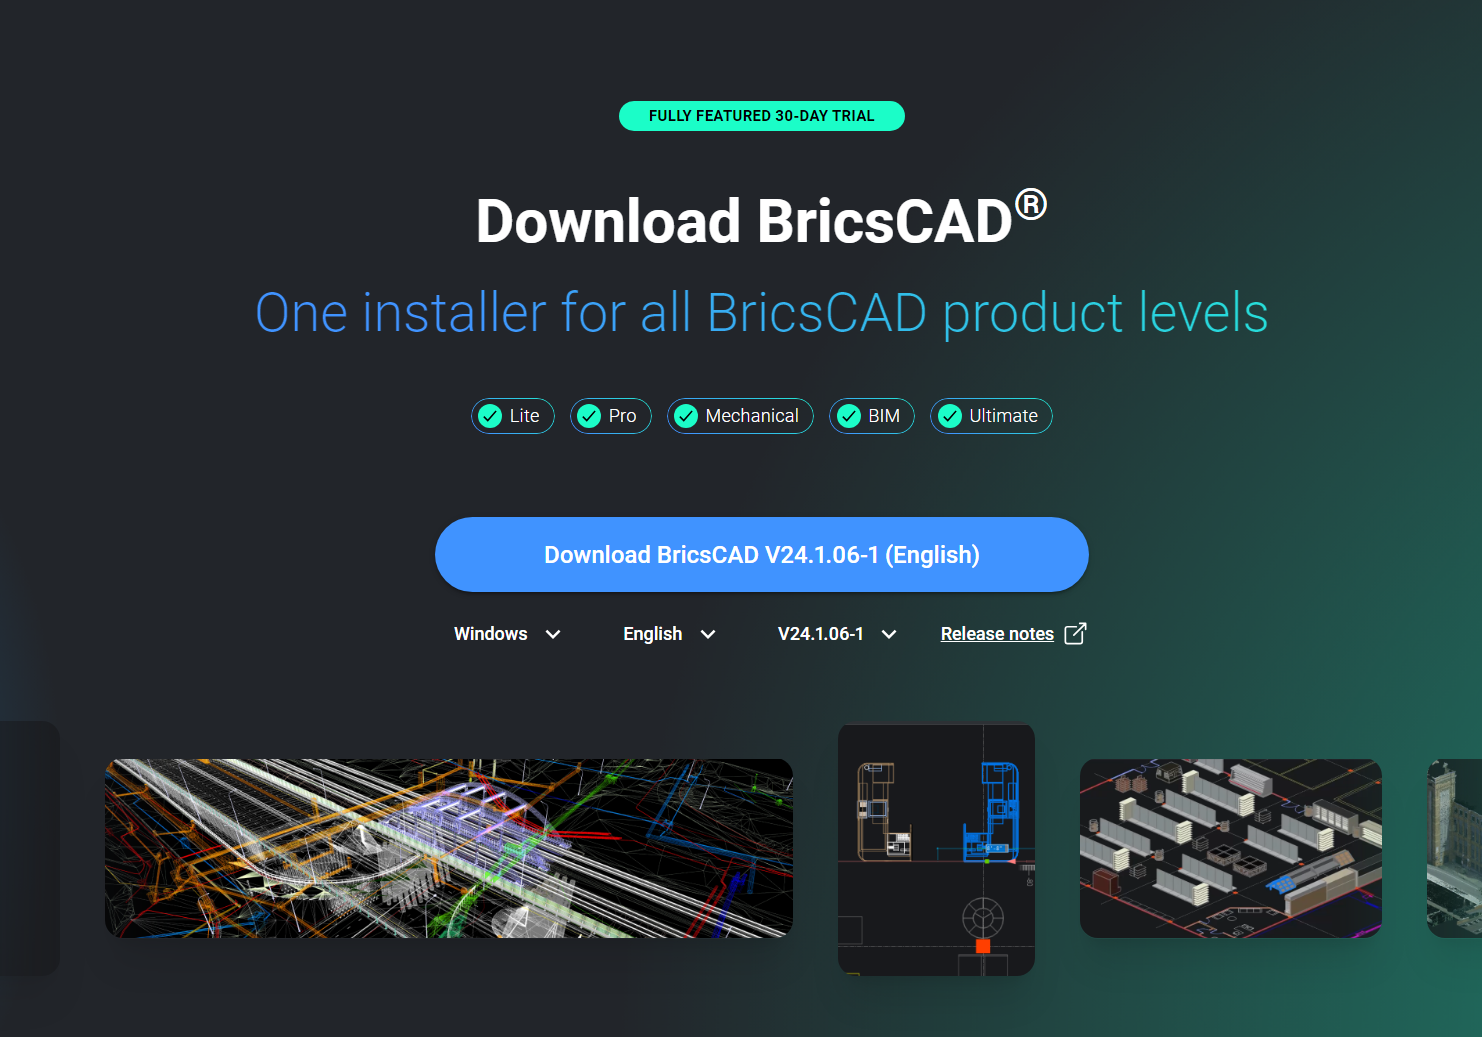
Download the BricsCAD free trial. The setup process is straightforward and typically takes only a few minutes.
After the download completes, locate the installer file on your computer. The installation process may vary slightly based on your operating system, but it typically involves double-clicking the installer file and following the on-screen instructions.
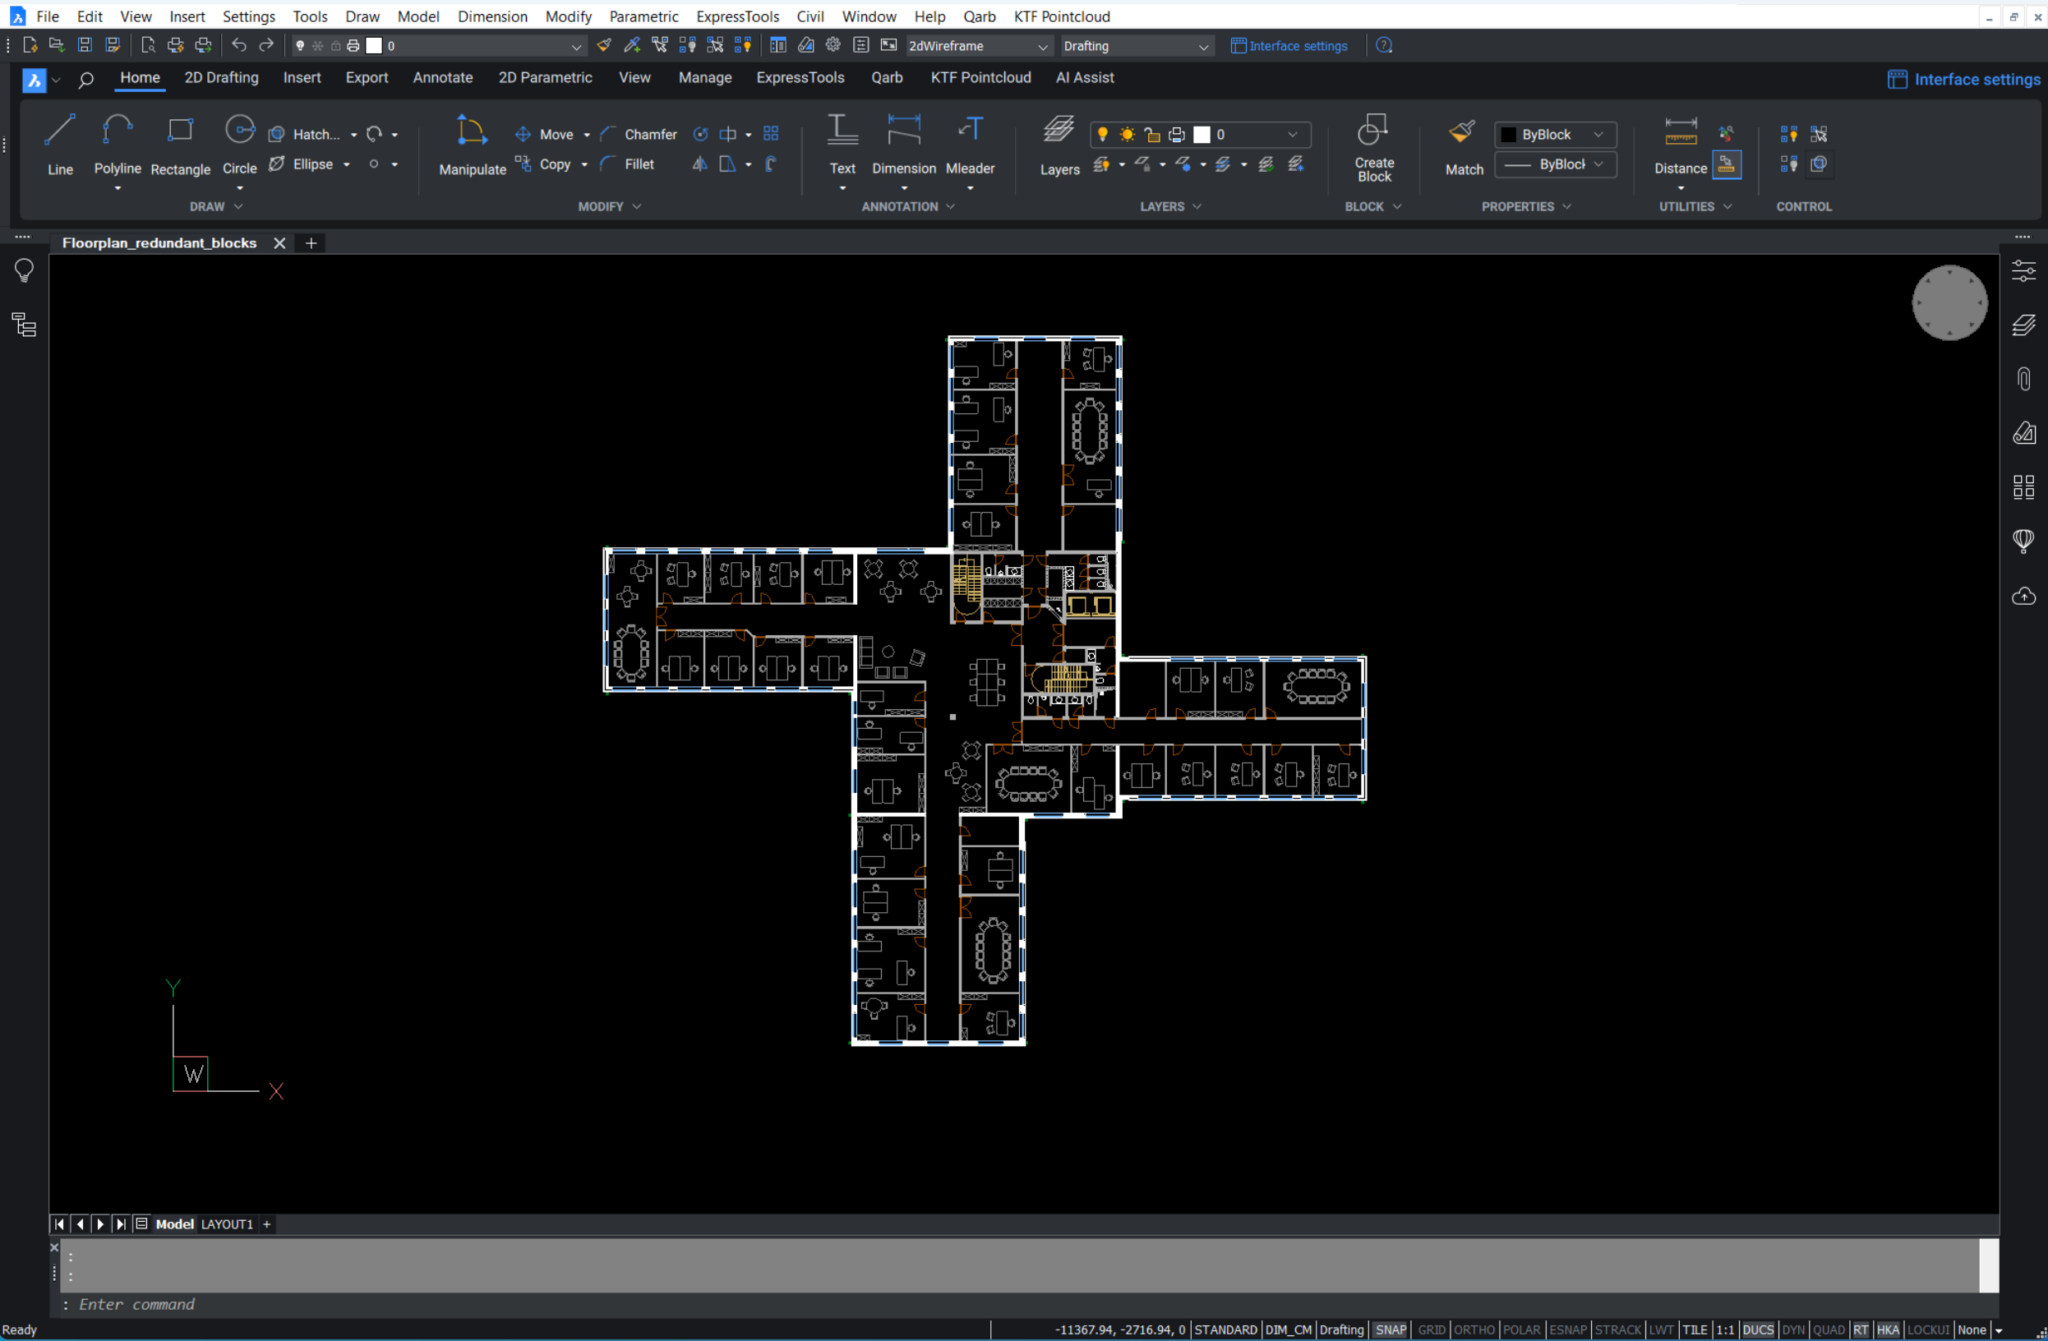
BricsCAD is designed to feel familiar to AutoCAD users, with a similar interface, command structure, and workflow.
Most teams can begin working productively with minimal retraining, allowing for a smoother transition without a steep learning curve.
Migrating your templates, blocks, and workflows is a key part of ensuring a smooth transition to BricsCAD.
This stage focuses on maintaining consistency, minimizing disruption, and ensuring your existing setup works as expected in the new environment.
Pre-migration setup
Understand File Access: Recognise that BricsCAD, like any CAD program, frequently accesses various files. These files are often located on network locations, making it essential to plan for their accessibility.
Configure BricsCAD SETTINGS: Utilise the BricsCAD SETTINGS command to meticulously set pathing locations for support files, XRef paths, plotter locations, and more. This initial setup is crucial for ensuring that your files are correctly linked and accessible.
Parallel setup and testing
Establish Network Folders: Set up network folders to ensure that all necessary files are accessible to both your current and BricsCAD systems.
Migrate Customization: Transfer customizations, including CUIs, aliases, and script files, to maintain your preferred workflow in BricsCAD.
Replicate Peripherals: Ensure that all peripherals, such as printers, plotters, and third-party applications, are correctly set up and functioning with BricsCAD.
Perform a Clean, Minimum Migration: Migrate only what you need. This reduces complexity and potential issues, making the transition smoother.
Test BricsCAD® Installation: While still running your current setup, thoroughly test BricsCAD to ensure that all aspects of your workflow are functioning as expected.
Migrating tools and assets
Custom Tools: Identify and migrate essential custom tools such as CUIs, .pgp files for aliases, and LSP/ARX files. Note that some files, especially scripts and routines (like those in VB or .NET), may need recompilation. Consult the BricsCAD Developer Portal for guidance.
Design Assets: Transfer your design assets including tool palettes (.xtp), fonts (.shx files), sheet sets (DST files), templates and blocks (DWG/DWT), and printing configuration files (PC3, PMP) along with custom hatch patterns.
Create a New BricsCAD Profile (.arg): Based on the migrated tools and settings, create a new BricsCAD profile to streamline your workflow in the new environment.
Clean-up and optimisation
Remove Redundancies: As you migrate, take the opportunity to clean up your system. Remove outdated backups, obsolete programs, and simplify your folder structure.
Optimise Design Elements: Clean blocks/palettes and ensure that only the essential, most-used elements are migrated to maintain a lean and efficient system.
Testing your projects in BricsCAD is the final step in validating your migration.
This allows you to confirm that your drawings, workflows, and outputs behave exactly as expected before fully committing to the move.
Open your existing drawings in BricsCAD to check that layout, layers, and visual appearance are preserved.
Run through your typical workflows — editing drawings, inserting blocks, and creating dimensions — to ensure everything performs as expected.
Check plotting and output settings to confirm they match your current standards.
This stage gives you confidence that your environment is ready and working correctly before rolling BricsCAD® out across your team.
Before fully committing to a move to BricsCAD, it’s important to validate that everything works in your environment.
A Proof of Concept allows you to test BricsCAD with your own drawings, templates, and workflows before making a full transition.
This ensures compatibility, identifies any adjustments needed, and gives your team confidence before rolling it out across your business.
We’ll review your requirements and confirm if a Proof of Concept is the right approach before getting started.
We’ll help you understand what’s active, where, and what to do next.